Introduction
Halloween treats are at their spookiest when they surprise and delight, and nothing screams “fun and creepy” quite like these Glow-in-the-Dark Cotton Candy Spiders. These whimsical creations combine the airy sweetness of cotton candy with the thrill of glowing edible paint and playful spider designs. Perfect for Halloween parties, haunted gatherings, or even a fun science-meets-dessert activity, this recipe is both visually stunning and incredibly fun to make.
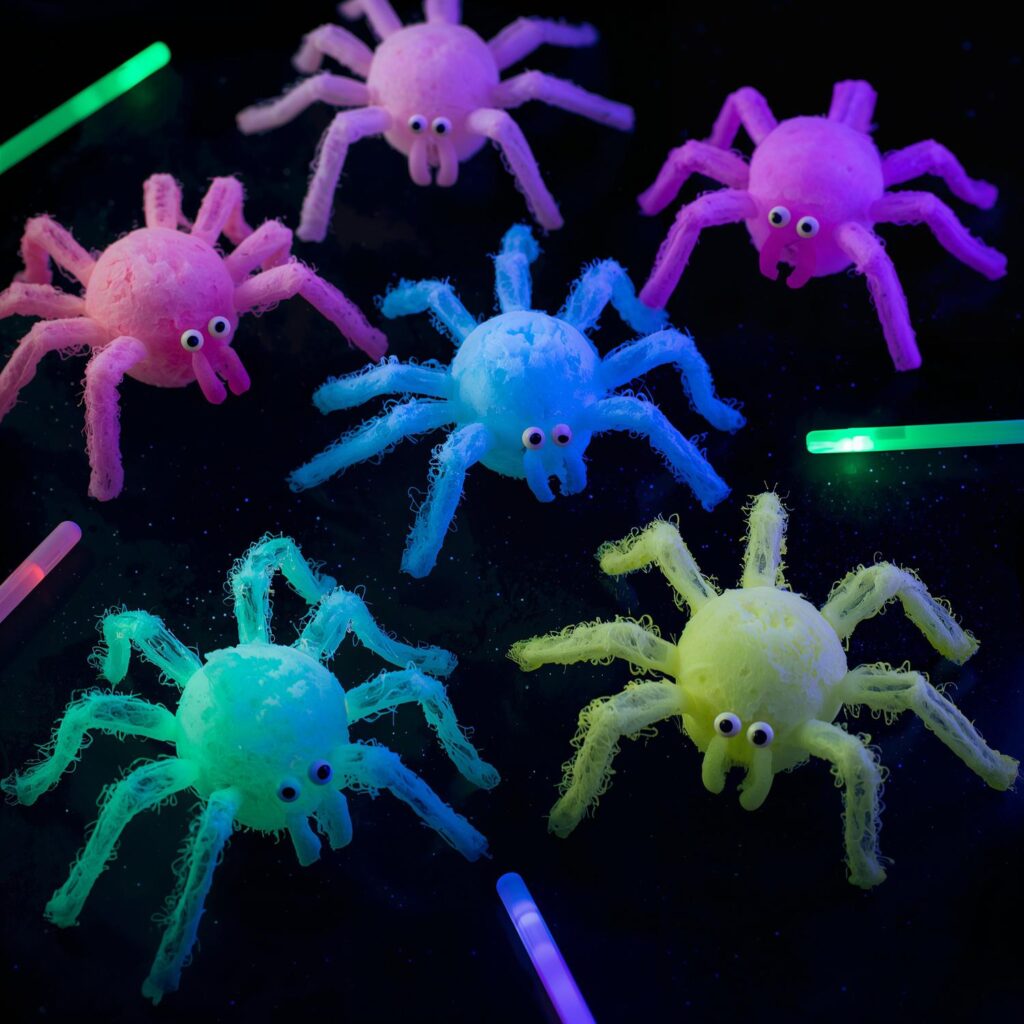
Imagine a dimly lit room where these sugary arachnids seem to glow and float above your treats table—it’s truly magical. Kids and adults alike will be fascinated by their glow an texture.
Why I Love This Recipe
I love this recipe because it turns a simple, sweet treat into an enchanting, magical experience. Cotton candy is already whimsical with its airy texture and delicate sweetness, but adding glow-in-the-dark paint transforms it into something completely unexpected and visually mesmerizing. Each spider becomes a little work of art that seems to come alive in dim lighting, making it perfect for Halloween, themed parties, or any fun celebration.
What makes it even more special is the creative process: shaping the cotton candy into spider bodies, carefully attaching licorice or fondant legs, painting with edible glow paint, and adding tiny candy eyes. It’s a hands-on activity that sparks imagination and makes the treat feel personalized and unique.
Why It’s a Must-Try
- Eye-catching for parties or Halloween tables.
- Unique twist on traditional cotton candy.
- Easy enough to make at home with minimal ingredients.
- Great for combining creativity and dessert in one activity.
- Perfect for kids, adults, or anyone who loves glowing, creepy-cute treats.
Preparation Time and Cooking Time
- Preparation Time: 20 minutes
- Cooking/Assembly Time: 15 minutes
- Total Time: 35 minutes
- Servings: 6-8 cotton candy spiders
- Calories: Approximately 150 kcal per spider
Cuisine & Course
- Cuisine: American / Halloween-themed Treat
- Course: Dessert / Snack / Party Treat
Ingredients
- 6-8 sticks of pre-made cotton candy (any color)
- Edible glow-in-the-dark paint (available online or at specialty baking stores)
- Black licorice strings or black fondant (for spider legs)
- Mini chocolate chips or candy eyes (for the spider face)
- Optional: Edible glitter (for extra sparkle)
Simple Cooking Directions
- Shape cotton candy into small spider bodies on sticks.
- Use licorice strings or fondant to form spider legs and attach them to the cotton candy.
- Paint the cotton candy with edible glow-in-the-dark paint.
- Add candy eyes or chocolate chips.
- Let the paint dry briefly and serve under dim lighting for maximum effect.
Step-by-Step Preparation Method
- Prepare Work Area: Lay out parchment paper or a clean surface to work on. Have all your candy and paint ready.
- Shape the Body: Pull small sections of cotton candy and form them into tight, rounded spider bodies. Place on sticks for easier handling.
- Make Legs: Cut black licorice strings or fondant into 8 small segments for each spider. Attach by gently pressing into the cotton candy body.
- Add Eyes: Place candy eyes or mini chocolate chips at the front of the spider body for a spooky look.
- Apply Glow Paint: Using a food-safe brush, carefully paint the cotton candy with edible glow-in-the-dark paint. Make sure to coat lightly to avoid collapsing the cotton candy.
- Optional Glitter: Lightly dust edible glitter for extra shimmer.
- Dry & Display: Allow the paint to dry for 5–10 minutes. Place in dim lighting to see the glowing effect.
How to Serve
- Serve on a platter under dim lighting or near a small black light to enhance the glow.
- Use small sticks or straws to keep them upright and easy to grab.
- Pair with other Halloween-themed treats like mini cupcakes or candy pumpkins.
Additional Recipe Tips
- Handle cotton candy gently—it’s fragile and can collapse if compressed.
- Use small amounts of glow paint at a time; layering works better than saturating.
- If using fondant for legs, slightly moisten the ends to help them stick.
Variations
- Spooky Colors: Use different cotton candy colors and matching glow paints.
- Candy Mix-ins: Insert small candies or sprinkles inside the cotton candy for added texture.
- Spider Web Display: Serve the spiders on edible spun sugar webs for an extra wow factor.
Freezing and Storage
- Cotton candy spiders are best consumed fresh.
- Storage: Keep in an airtight container at room temperature for up to 2 days.
- Freezing: Not recommended, as cotton candy will collapse and lose its texture.
Special Equipment Needed
- Edible glow-in-the-dark paint
- Food-safe paintbrush
- Parchment paper or clean workspace
- Cotton candy sticks or skewers
Conclusion
Glow-in-the-Dark Cotton Candy Spiders are a must-try Halloween treat that combines creativity, sweetness, and a touch of spooky magic. They’re perfect for parties, family gatherings, or even just as a fun weekend project. Not only do they look mesmerizing, but making them is also a playful and engaging experience. This recipe transforms simple cotton candy into a glowing spectacle that will amaze and delight all ages.

Glow In The Dark Cotton Candy Spiders
Description
Halloween treats are at their spookiest when they surprise and delight, and nothing screams “fun and creepy” quite like these Glow-in-the-Dark Cotton Candy Spiders. These whimsical creations combine the airy sweetness of cotton candy with the thrill of glowing edible paint and playful spider designs. Perfect for Halloween parties, haunted gatherings, or even a fun science-meets-dessert activity, this recipe is both visually stunning and incredibly fun to make.
Ingredients
Instructions
-
Prepare Work Area : Lay out parchment paper or a clean surface to work on. Have all your candy and paint ready.
-
Shape the Body : Pull small sections of cotton candy and form them into tight, rounded spider bodies. Place on sticks for easier handling.
-
Make Legs : Cut black licorice strings or fondant into 8 small segments for each spider. Attach by gently pressing into the cotton candy body.
-
Add Eyes : Place candy eyes or mini chocolate chips at the front of the spider body for a spooky look.
-
Apply Glow Paint : Using a food-safe brush, carefully paint the cotton candy with edible glow-in-the-dark paint. Make sure to coat lightly to avoid collapsing the cotton candy.
-
Optional Glitter : Lightly dust edible glitter for extra shimmer.
-
Dry & Display : Allow the paint to dry for 5–10 minutes. Place in dim lighting to see the glowing effect.