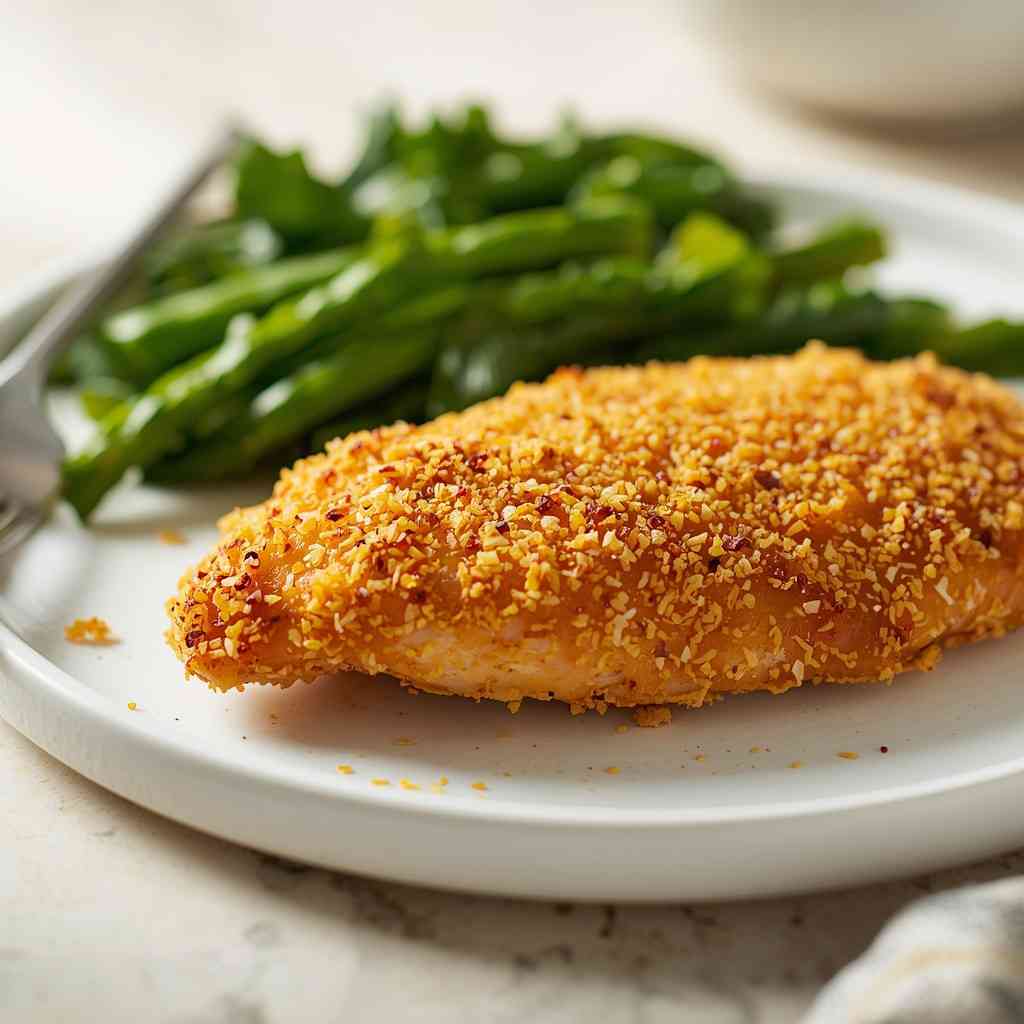
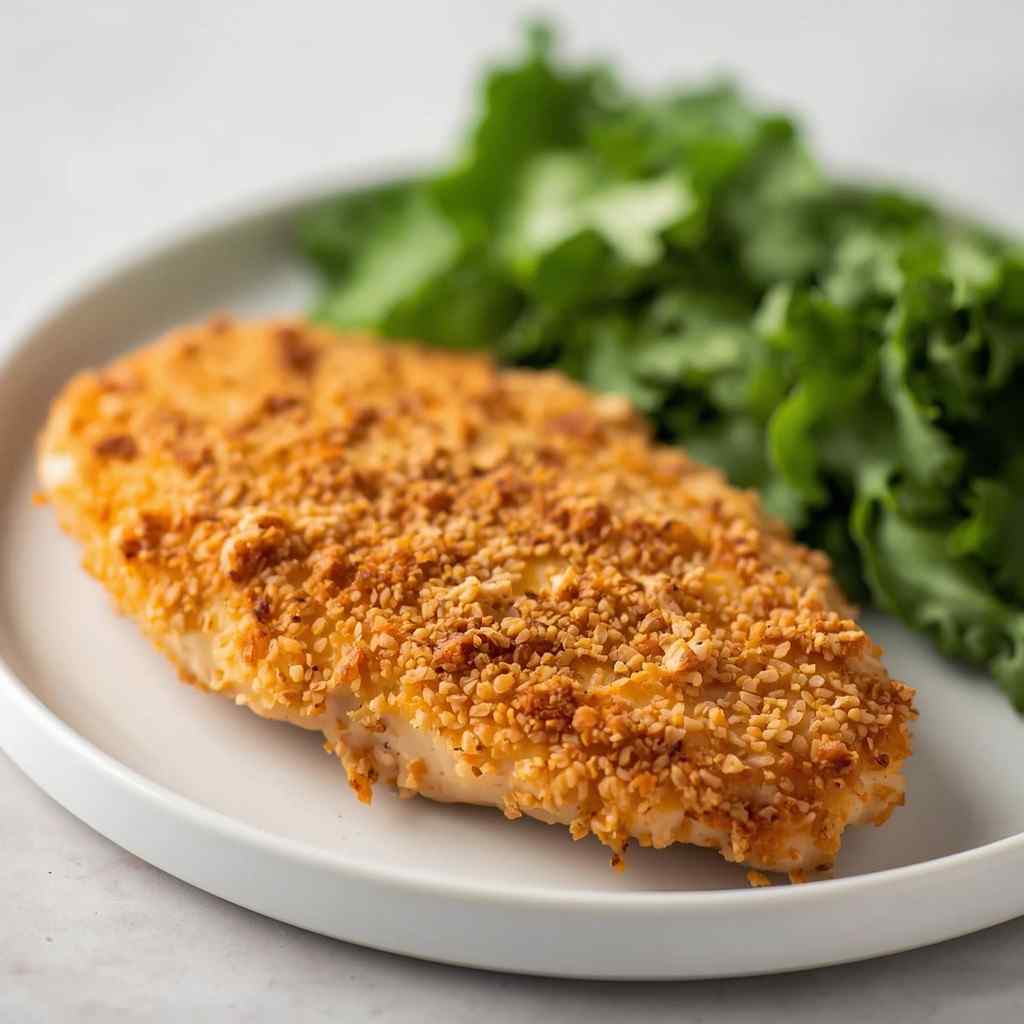
Crispy Baked Panko Chicken Breasts are a healthier, oven-baked twist on the classic fried chicken. Juicy on the inside and perfectly golden-crisp on the outside, this dish uses Japanese-style panko breadcrumbs to create that irresistibly crunchy coating — without the need for deep frying.
The magic lies in the simplicity: seasoned chicken breasts are coated in flour, dipped in egg, rolled in panko, and baked until crispy perfection. It’s quick, wholesome, and incredibly satisfying — perfect for weeknights, meal prep, or a lighter version of comfort food.
Why I Love This Recipe
I love this recipe because it’s simple yet impressive. You get all the crispy satisfaction of fried chicken without the heaviness or mess of frying. The panko coating bakes up beautifully golden, and the chicken stays tender and juicy.
It’s also versatile — you can pair it with mashed potatoes, salads, pasta, or sandwiches. The fact that it uses basic pantry staples and still delivers restaurant-quality texture makes it one of my go-to dishes when I want something both easy and delicious.
Why It’s a Must-Try Dish
- Healthier alternative to deep-fried chicken.
- Crispy, golden crust with juicy, flavorful meat inside.
- Uses simple, everyday ingredients.
- Perfect for meal prep — reheats well and stays crisp.
- Family-friendly, loved by both kids and adults alike.
Preparation & Cooking Time
- Preparation Time: 15 minutes
- Cooking Time: 25 minutes
- Total Time: 40 minutes
- Servings: 4 servings
- Calories per serving: Approximately 380–420 kcal
Cuisine & Course
- Cuisine: American / Japanese-inspired
- Course: Main Course / Dinner / Lunch
Ingredients
For the Chicken:
- 4 boneless, skinless chicken breasts
- Salt and freshly ground black pepper, to taste
- ½ cup all-purpose flour
- 2 large eggs, beaten
- 1 cup panko breadcrumbs
- ½ cup grated Parmesan cheese
- 1 tsp garlic powder
- 1 tsp paprika (optional for color)
- 2 tbsp olive oil or melted butter (for drizzling or spraying)
Optional Garnish:
- Fresh parsley, chopped
- Lemon wedges, for serving
Simple Cooking Directions
- Preheat oven and prepare baking sheet.
- Season and coat chicken in flour, egg, and panko mixture.
- Bake until golden and crisp.
- Rest briefly before serving.
Step-by-Step Preparation Method
Step 1: Prepare the Oven and Baking Sheet
- Preheat your oven to 425°F (220°C).
- Line a baking sheet with parchment paper or lightly grease it with olive oil.
- For extra crispiness, place a wire rack over the baking sheet — this allows air to circulate under the chicken.
Step 2: Prepare the Breading Stations
- Set up three shallow bowls:
- Bowl 1: Flour, seasoned with a pinch of salt and pepper.
- Bowl 2: Beaten eggs.
- Bowl 3: Panko breadcrumbs mixed with Parmesan, garlic powder, and paprika.
Step 3: Coat the Chicken
- Pat chicken breasts dry with paper towels.
- Season both sides with salt and pepper.
- Dredge each chicken breast in flour, shaking off excess.
- Dip into beaten eggs, coating completely.
- Press into panko mixture, ensuring a full, even coating.
- Place coated chicken onto the prepared rack or baking sheet.
Step 4: Bake the Chicken
- Lightly drizzle or spray the tops of the chicken with olive oil (this helps browning).
- Bake for 20–25 minutes, flipping halfway if not using a rack, until:
- The crust is golden brown.
- The internal temperature reaches 165°F (74°C).
Step 5: Rest and Serve
- Let chicken rest for 5 minutes before slicing.
- Garnish with fresh parsley and serve with lemon wedges for brightness.
How to Serve
Crispy Baked Panko Chicken Breasts pair beautifully with a variety of sides. Try serving with:
- Garlic mashed potatoes or roasted vegetables
- Steamed rice or buttered noodles
- Fresh garden salad or coleslaw
- Honey mustard, barbecue sauce, or creamy ranch for dipping
For a fun twist, slice the chicken and serve it over Caesar salad or in a sandwich or wrap.
Additional Recipe Tips
- Pound the chicken to even thickness for uniform cooking.
- Use a wire rack on your baking tray to keep the underside crisp.
- Don’t overcrowd the pan — space allows better air circulation.
- For extra crunch, toast the panko in a dry skillet for 2–3 minutes before coating.
- Want a golden top? Broil for 1–2 minutes at the end of baking.
Variations
- Spicy Panko Chicken: Add ½ tsp cayenne pepper or chili flakes to the breadcrumb mix.
- Herb-Crusted Chicken: Mix in Italian herbs like oregano, basil, and thyme.
- Cheesy Panko Chicken: Add shredded mozzarella or cheddar into the breadcrumb coating.
- Asian-Inspired Twist: Mix in sesame seeds and serve with soy-ginger sauce.
- Panko Chicken Tenders: Slice chicken into strips and bake for 15 minutes for crispy tenders.
Freezing & Storage
To Store (Refrigerate):
- Cool leftovers completely and store in an airtight container for up to 3–4 days.
- Reheat in the oven or air fryer at 375°F (190°C) for 8–10 minutes to regain crispiness.
To Freeze (Before Baking):
- Bread the chicken as directed but don’t bake.
- Place on a tray and freeze until solid, then transfer to freezer bags.
- Store for up to 2 months.
- Bake directly from frozen at 400°F (200°C) for 30–35 minutes.
To Freeze (After Baking):
- Freeze cooked chicken wrapped tightly for up to 2 months.
- Reheat in the oven for 15–20 minutes or until hot and crisp.
Special Equipment Needed
- Baking sheet
- Wire rack (optional but recommended)
- Three shallow bowls (for dredging)
- Meat thermometer (to check doneness)
- Tongs or spatula
- Parchment paper or aluminum foil
Conclusion
Crispy Baked Panko Chicken Breasts is the perfect combination of simplicity, flavor, and texture. You get a juicy, tender chicken interior wrapped in a perfectly crunchy, golden crust — all without a drop of deep-frying oil.
This dish is ideal for busy weeknights, family dinners, or meal prepping, offering the perfect balance between healthy and indulgent. Serve it with your favorite sides and sauces, and enjoy that satisfying crunch every time.

Crispy Baked Panko Chicken Breasts
Description
Crispy Baked Panko Chicken Breasts are a healthier, oven-baked twist on the classic fried chicken. Juicy on the inside and perfectly golden-crisp on the outside, this dish uses Japanese-style panko breadcrumbs to create that irresistibly crunchy coating — without the need for deep frying.
Ingredients
For the Chicken:
Optional Garnish:
Instructions
-
Step 1: Prepare the Oven and Baking Sheet : Preheat your oven to 425°F (220°C). Line a baking sheet with parchment paper or lightly grease it with olive oil. For extra crispiness, place a wire rack over the baking sheet — this allows air to circulate under the chicken.
-
Step 2: Prepare the Breading Stations : Set up three shallow bowls: Bowl 1: Flour, seasoned with a pinch of salt and pepper. Bowl 2: Beaten eggs. Bowl 3: Panko breadcrumbs mixed with Parmesan, garlic powder, and paprika.
-
Step 3: Coat the Chicken : Pat chicken breasts dry with paper towels. Season both sides with salt and pepper. Dredge each chicken breast in flour, shaking off excess. Dip into beaten eggs, coating completely. Press into panko mixture, ensuring a full, even coating. Place coated chicken onto the prepared rack or baking sheet.
-
Step 4: Bake the Chicken : Lightly drizzle or spray the tops of the chicken with olive oil (this helps browning). Bake for 20–25 minutes, flipping halfway if not using a rack, until: The crust is golden brown. The internal temperature reaches 165°F (74°C).
-
Step 5: Rest and Serve : Let chicken rest for 5 minutes before slicing. Garnish with fresh parsley and serve with lemon wedges for brightness.