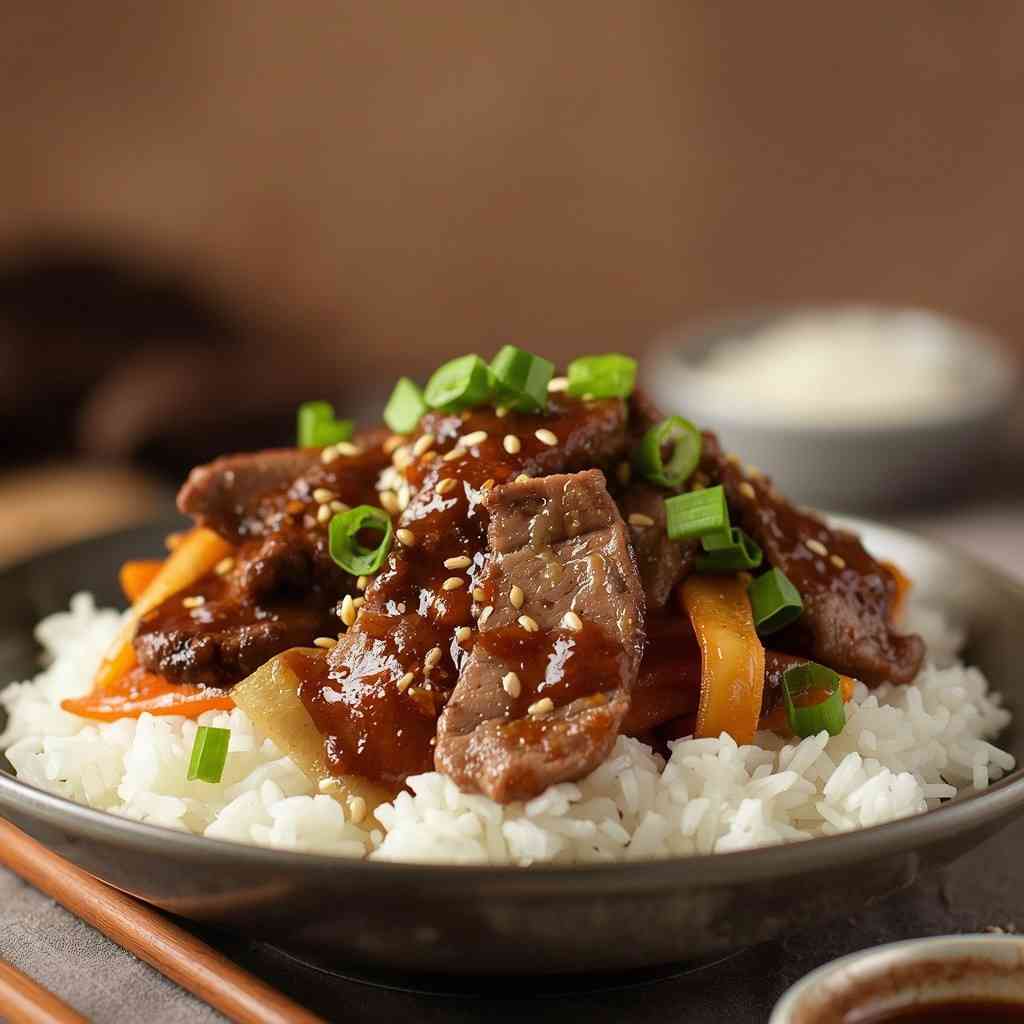
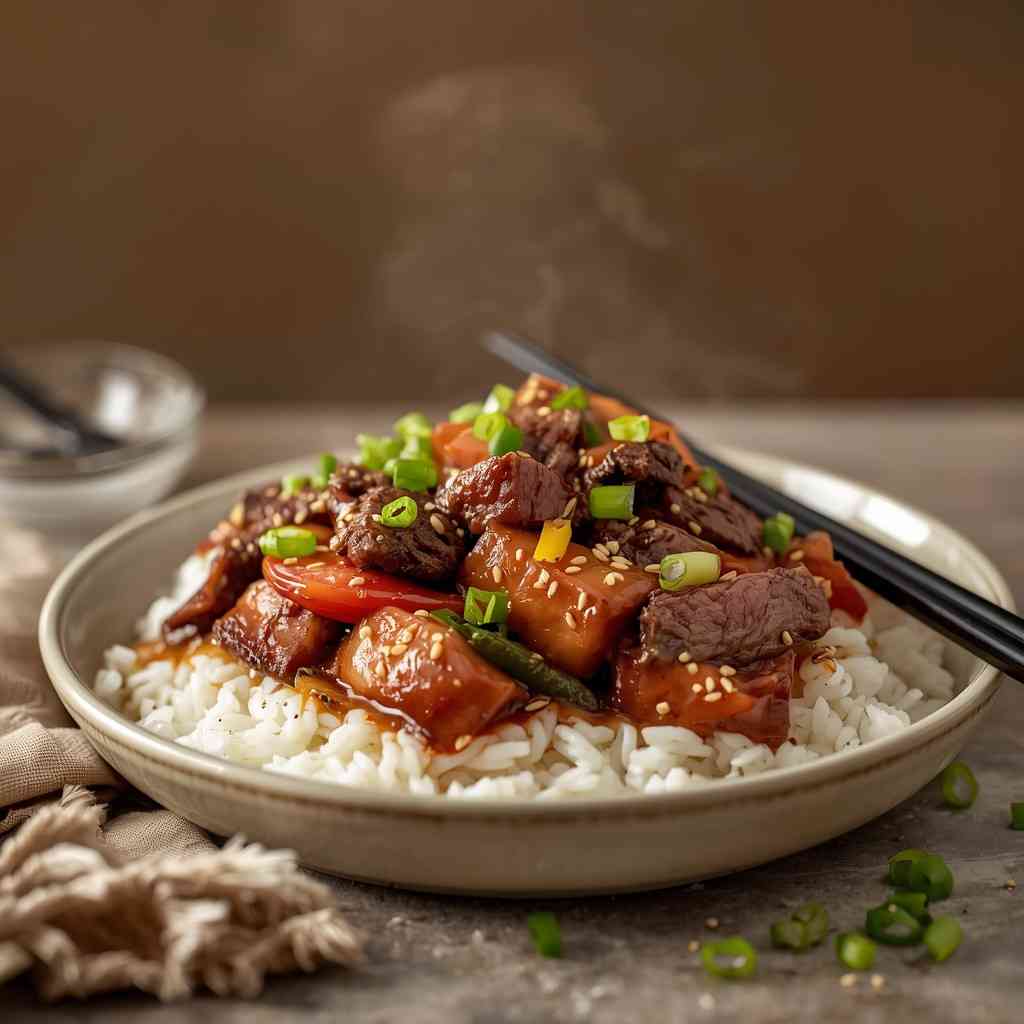
Instant Pot Mongolian Beef is a delicious, restaurant-style dish made right at home with minimal effort. Tender slices of beef are pressure cooked until perfectly soft and infused with the rich flavors of soy sauce, brown sugar, garlic, and ginger. The sauce thickens beautifully into a glossy glaze that coats the meat, creating a sweet, savory, and slightly tangy flavor profile that pairs perfectly with rice or noodles.
This recipe delivers all the bold flavors of your favorite Asian take-out meal but with cleaner ingredients and a faster cooking process. Thanks to the Instant Pot, you get incredibly tender beef in a fraction of the time compared to traditional stovetop or slow-cooked versions.
Why I Love This Recipe
I love this recipe because:
- It tastes like restaurant-quality food with very little work.
- The Instant Pot cooks the beef until melt-in-your-mouth tender.
- The sauce is flavorful, slightly sweet, and packed with aromatic garlic and ginger.
- It reheats beautifully, making it perfect for meal prep.
It’s one of those dishes you’ll come back to again and again because it’s foolproof and always satisfies.
Why This Is a Must-Try Dish
This recipe deserves a spot on your table because:
It’s quick compared to traditional Mongolian beef
Budget-friendly compared to takeout
Full of bold flavor and great texture
Kid-approved, crowd-approved, and perfect for weeknights
Easily customizable for dietary preferences
One bite in and you’ll know this dish is something special!
Recipe Details
- Preparation Time: 10 minutes
- Cooking Time: 30–35 minutes (including pressurizing time)
- Total Time: 40–45 minutes
- Servings: 4 servings
- Calories: Approximately 430 calories per serving
- Course: Main Course
- Cuisine: Asian / Chinese-American
Ingredients
For the Beef
- 1.5 lbs (680g) flank steak, thinly sliced against the grain
- ¼ cup cornstarch
- 2 tbsp vegetable oil
For the Sauce
- ¾ cup low-sodium soy sauce
- ½ cup brown sugar
- ½ cup beef broth or water
- 1 tbsp sesame oil
- 4 garlic cloves, minced
- 1 tbsp fresh ginger, grated
- ¼ tsp red pepper flakes (optional for heat)
To Finish
- 1–2 tbsp cornstarch mixed with 2 tbsp water (slurry)
- 3 green onions, chopped
- Sesame seeds for garnish (optional)
Cooking Directions (Quick Overview)
- Coat sliced beef in cornstarch.
- Sauté in Instant Pot until lightly browned.
- Add sauce ingredients and cook under high pressure for 10 minutes.
- Release pressure, add slurry, and saute to thicken.
- Garnish with green onions and sesame seeds.
Step-by-Step Preparation Method
Step 1: Prepare the Beef
Slice beef thinly against the grain and coat with cornstarch. This helps tenderize and thicken the sauce later.
Step 2: Sear the Beef
Turn Instant Pot to Sauté mode. Add oil and lightly brown the beef in batches. Do not fully cook—just sear.
Step 3: Add the Sauce
Add soy sauce, brown sugar, broth, ginger, garlic, sesame oil, and red pepper flakes. Stir well.
Step 4: Pressure Cook
Seal the lid and set to High Pressure for 10 minutes. Allow 10-minute natural release, then quick release remaining pressure.
Step 5: Thicken the Sauce
Turn back to Sauté mode and stir in cornstarch slurry. Cook until sauce thickens and becomes glossy (1–3 minutes).
Step 6: Finish
Stir in green onions and turn off heat.
How to Serve
Serve warm with:
- Steamed jasmine or basmati rice
- Fried rice
- Stir-fried vegetables
- Noodles
- Cauliflower rice for a low-carb option
Garnish with green onions and sesame seeds for a beautiful finish.
Recipe Tips
Slice beef thinly—freezing it for 20 minutes beforehand helps.
Use low-sodium soy sauce to avoid oversalting.
Allow natural pressure release to keep beef tender.
Add vegetables like broccoli during the thickening phase if desired.
Variations
- Spicy Mongolian Beef: Add chili paste or sriracha.
- Mongolian Chicken: Swap beef for thinly sliced chicken breasts or thighs.
- Gluten-Free: Use gluten-free soy sauce or coconut aminos.
- Veggie Boost: Add bell peppers, snap peas, zucchini, or mushrooms.
- Crispy Style: After cooking, briefly air fry or pan-fry beef pieces for crisp edges.
Freezing & Storage
- Refrigerator: Store leftovers in an airtight container for 3–4 days.
- Freezer: Freeze cooked Mongolian beef for up to 3 months.
- Reheat: Microwave or heat in skillet; add a splash of broth if sauce thickens too much.
Special Equipment Needed
- Instant Pot or pressure cooker
- Sharp knife for thin slicing
- Tongs or silicone spoon
FAQ
Q: Can I skip coating the beef in cornstarch?
You can, but coating improves texture and thickens sauce.
Q: Can I use a different cut of beef?
Yes—sirloin or skirt steak work great.
Q: Can I double the recipe?
Yes, but ensure liquid quantity covers ingredients. Cooking time remains the same.
Conclusion
Instant Pot Mongolian Beef is a flavorful, satisfying, and easy dinner that tastes like your favorite take-out dish—only better and fresher. The beef turns irresistibly tender, and the rich sauce is perfectly balanced, making it a recipe worth repeating.
Whether you’re cooking for family dinner, impressing guests, or meal prepping for the week, this dish is guaranteed to become a kitchen favorite.

Instant Pot Mongolian Beef
Description
Instant Pot Mongolian Beef is a delicious, restaurant-style dish made right at home with minimal effort. Tender slices of beef are pressure cooked until perfectly soft and infused with the rich flavors of soy sauce, brown sugar, garlic, and ginger.
Ingredients
For the Beef
For the Sauce
To Finish
Instructions
-
Step 1: Prepare the Beef : Slice beef thinly against the grain and coat with cornstarch. This helps tenderize and thicken the sauce later.
-
Step 2: Sear the Beef : Turn Instant Pot to Sauté mode. Add oil and lightly brown the beef in batches. Do not fully cook—just sear.
-
Step 3: Add the Sauce : Add soy sauce, brown sugar, broth, ginger, garlic, sesame oil, and red pepper flakes. Stir well.
-
Step 4: Pressure Cook : Seal the lid and set to High Pressure for 10 minutes. Allow 10-minute natural release, then quick release remaining pressure.
-
Step 5: Thicken the Sauce : Turn back to Sauté mode and stir in cornstarch slurry. Cook until sauce thickens and becomes glossy (1–3 minutes).
-
Step 6: Finish : Stir in green onions and turn off heat.