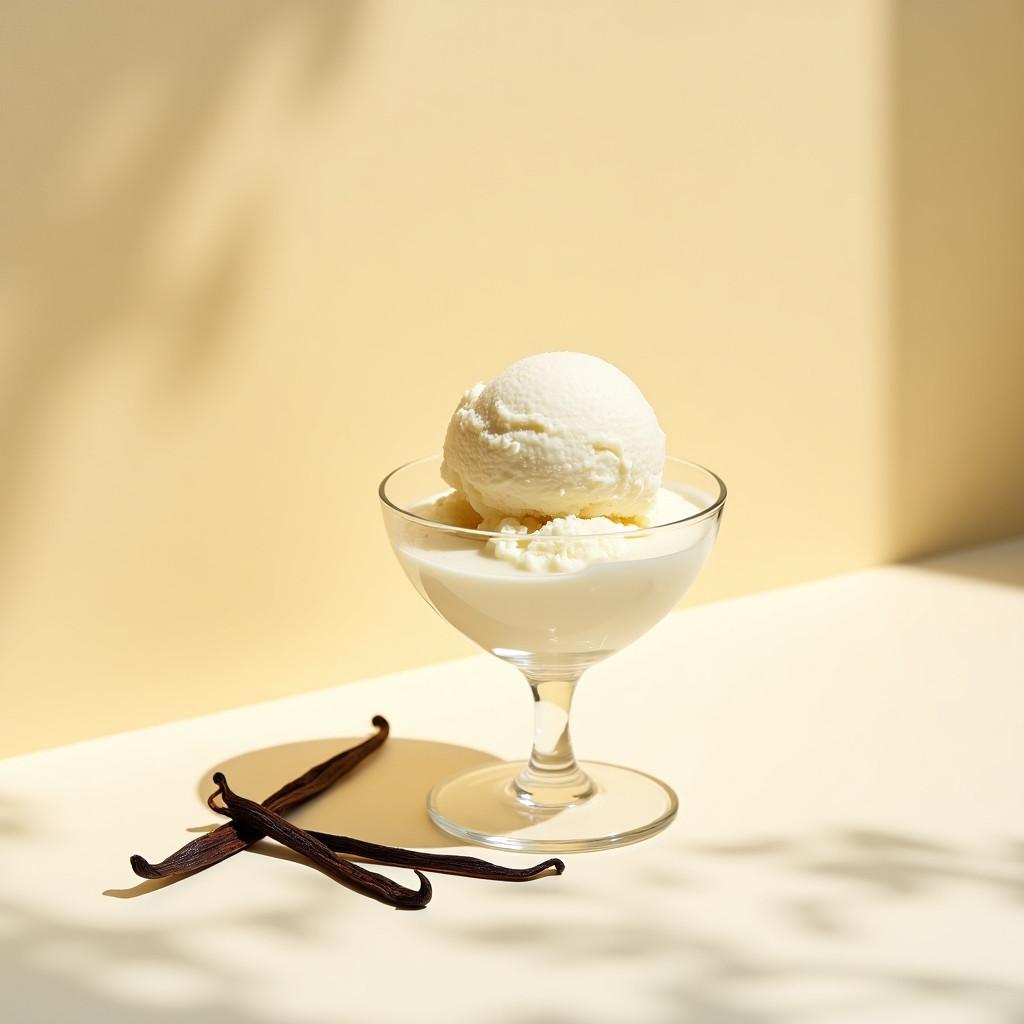
Vanilla Bean Ice Cream is the purest expression of homemade ice cream—rich, creamy, and infused with the deep, aromatic flavor of real vanilla beans. Unlike store-bought versions, this classic dessert celebrates simplicity, allowing a handful of high-quality ingredients to shine. Tiny black specks of vanilla bean throughout the ice cream not only add visual appeal but also deliver an intense, floral vanilla aroma that elevates every spoonful.
This recipe creates a luxuriously smooth custard-based ice cream that’s perfectly balanced—not overly sweet, yet indulgently creamy. Whether enjoyed on its own, paired with warm desserts, or used as a base for creative flavors, vanilla bean ice cream is a timeless favorite that never goes out of style.
Why I Love This Recipe
I love this recipe because it captures the true essence of vanilla. Using real vanilla beans instead of extracts creates a depth of flavor that’s impossible to replicate. The texture is incredibly smooth, the taste is clean and rich, and it feels like a special treat every time—simple, elegant, and endlessly comforting.
Why This Is a Must-Try Dish
- Pure, authentic vanilla bean flavor
- Ultra-creamy, custard-style texture
- No artificial flavors or preservatives
- Perfect base for countless variations
- A timeless dessert loved by all ages
Preparation Details
- Preparation Time: 15 minutes
- Cooking Time: 20 minutes
- Chilling & Churning Time: 4–6 hours
- Total Time: About 6 hours
Servings & Nutrition
- Servings: 8
- Calories: Approximately 260–280 calories per serving
Course & Cuisine
- Course: Dessert
- Cuisine: American / French-inspired
Ingredients
- 2 cups heavy cream
- 1 cup whole milk
- ¾ cup granulated sugar
- 1 vanilla bean, split lengthwise and seeds scraped
- 5 large egg yolks
- ¼ teaspoon salt
Optional Enhancements
- 1 teaspoon vanilla extract (optional, for extra depth)
Cooking Directions
- Heat milk, cream, sugar, and vanilla bean.
- Temper egg yolks with warm mixture.
- Cook custard until thickened.
- Chill completely.
- Churn in ice cream maker and freeze.
Step-by-Step Preparation Method
Step 1: Heat the Dairy
In a saucepan over medium heat, combine heavy cream, milk, sugar, vanilla bean seeds, and the empty vanilla pod. Heat until steaming, stirring occasionally. Do not boil.
Step 2: Prepare the Egg Yolks
In a bowl, whisk egg yolks and salt until smooth.
Step 3: Temper the Eggs
Slowly pour about 1 cup of the hot cream mixture into the yolks while whisking constantly to prevent curdling.
Step 4: Cook the Custard
Pour the tempered egg mixture back into the saucepan. Cook over low heat, stirring constantly, until the custard thickens slightly and coats the back of a spoon (170–175°F).
Step 5: Strain and Chill
Remove from heat. Strain custard into a bowl to remove the vanilla pod. Cover and refrigerate for at least 4 hours or until completely cold.
Step 6: Churn the Ice Cream
Churn chilled custard in an ice cream maker according to manufacturer’s instructions (about 20–25 minutes).
Step 7: Freeze Until Firm
Transfer ice cream to an airtight container and freeze for 2–3 hours until scoopable.
How to Serve
- Serve in bowls or cones with fresh berries
- Pair with warm brownies, pies, or fruit crisps
- Drizzle with caramel, chocolate sauce, or honey
- Use as a base for ice cream sundaes or floats
Recipe Tips
- Use real vanilla beans for best flavor
- Do not boil the custard to avoid scrambling eggs
- Chill the mixture thoroughly before churning
- Store ice cream in a shallow container for even freezing
Variations
Vanilla Bean Speckled Ice Cream
Leave seeds unstrained for visible vanilla flecks.
French Vanilla Ice Cream
Add an extra egg yolk for richer custard flavor.
Vanilla Honey Ice Cream
Replace half the sugar with honey.
Dairy-Free Version
Use coconut milk and coconut cream (custard-free method).
Vanilla Almond Ice Cream
Add almond extract and toasted almonds after churning.
Freezing and Storage
Freezer
- Store in an airtight container for up to 2 weeks
Storage Tips
- Press parchment paper directly onto the surface to prevent ice crystals
- Let soften at room temperature for 5 minutes before scooping
Special Equipment Needed
- Ice cream maker
- Saucepan
- Whisk
- Fine-mesh strainer
- Thermometer (recommended)
Conclusion
Vanilla Bean Ice Cream is a timeless dessert that proves simplicity can be extraordinary. With its silky texture, rich custard base, and fragrant vanilla flavor, this homemade classic is far superior to anything store-bought. Whether enjoyed on its own or paired with your favorite desserts, this recipe delivers pure, creamy perfection in every scoop.

Vanilla Bean Ice Cream
Description
Vanilla Bean Ice Cream is the purest expression of homemade ice cream—rich, creamy, and infused with the deep, aromatic flavor of real vanilla beans. Unlike store-bought versions, this classic dessert celebrates simplicity, allowing a handful of high-quality ingredients to shine. Tiny black specks of vanilla bean throughout the ice cream not only add visual appeal but also deliver an intense, floral vanilla aroma that elevates every spoonful.
Ingredients
Optional Enhancements
Instructions
-
Heat the Dairy : In a saucepan over medium heat, combine heavy cream, milk, sugar, vanilla bean seeds, and the empty vanilla pod. Heat until steaming, stirring occasionally. Do not boil.
-
Prepare the Egg Yolks : In a bowl, whisk egg yolks and salt until smooth.
-
Temper the Eggs : Slowly pour about 1 cup of the hot cream mixture into the yolks while whisking constantly to prevent curdling.
-
Cook the Custard : Pour the tempered egg mixture back into the saucepan. Cook over low heat, stirring constantly, until the custard thickens slightly and coats the back of a spoon (170–175°F).
-
Strain and Chill : Remove from heat. Strain custard into a bowl to remove the vanilla pod. Cover and refrigerate for at least 4 hours or until completely cold.
-
Churn the Ice Cream : Churn chilled custard in an ice cream maker according to manufacturer’s instructions (about 20–25 minutes).
-
Freeze Until Firm : Transfer ice cream to an airtight container and freeze for 2–3 hours until scoopable.